Vacuum Stress in Pets: Calm Training for Dogs & Cats
Helping Pets Handle Vacuum Stress: A Calm, Step-by-Step Plan for Dogs and Cats
Many pets react to the vacuum as if it’s a threat: the noise, sudden movement, and unfamiliar airflow can trigger barking, hiding, shaking, or even defensive behavior. The goal isn’t to force “tolerance” overnight—it’s to create predictable routines, build positive associations, and keep everyone safe while the house still gets cleaned. With short, consistent practice, most dogs and cats can learn that the vacuum is just a noisy household tool, not a danger.
Why vacuums can be so upsetting
Vacuum stress is common because vacuums combine several triggers at once:
- Noise intensity and pitch: High-volume sound can be uncomfortable, especially for sound-sensitive pets.
- Unpredictable movement: Rolling, turning, and approaching can resemble stalking or chasing.
- Airflow and debris movement: The sensation and shifting dust can feel like a sudden environmental change near the body.
- Fear memory: One bad moment—being bumped, cornered, or surprised—can create lasting avoidance.
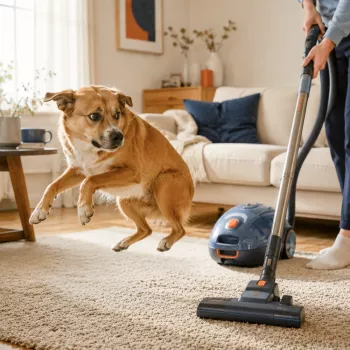
- Instinct responses: Some dogs flip into herding/chasing; some cats interpret the vacuum as a predator.
If you’d like deeper behavior guidance, the American Veterinary Society of Animal Behavior (AVSAB) provides science-based resources on fear and training approaches.
Stress signals to watch for before it escalates
Spotting early stress signs lets you adjust before a full panic response kicks in.
- Dogs: pacing, panting when not hot, lip-licking, yawning, pinned ears, tail tucked, barking, or lunging at the vacuum.
- Cats: crouching, flattened ears, dilated pupils, hiding, swatting, bolting, growling, or refusing food afterward.
- Early intervention works best: pause cleaning when subtle signals appear rather than waiting for a meltdown.
- Recovery matters: if your pet can’t settle within a few minutes after the vacuum stops, the next session needs to be easier and more gradual.
Set up the environment for success before the vacuum turns on
A thoughtful setup prevents setbacks and helps your pet feel in control.
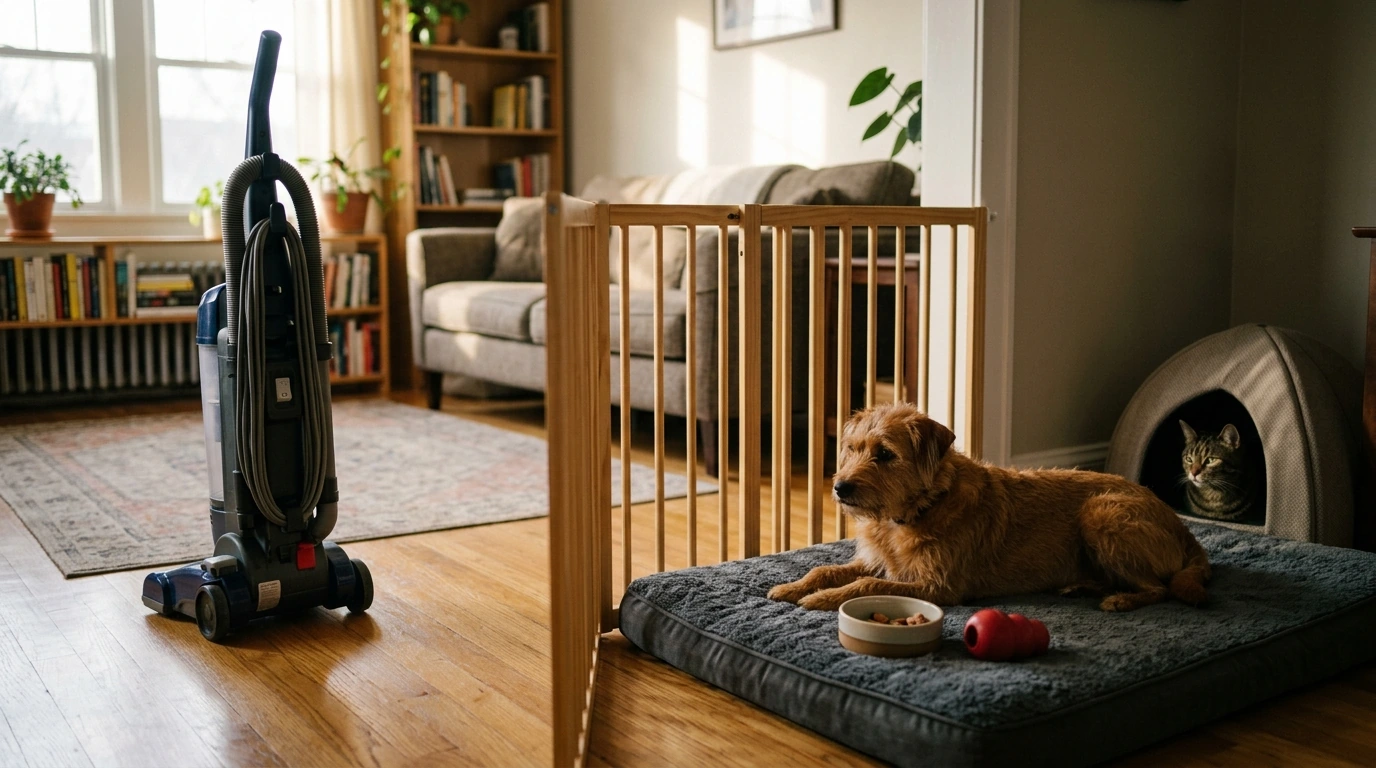
- Create a predictable safe zone: a quiet room, crate, or covered bed with a familiar blanket, water, and a chew or food puzzle.
- Buffer the sound: close doors, run a fan/white noise, or play calm music at low volume before you start.
- Prevent chasing or collisions: use a baby gate or keep pets separated from the cleaning area.
- Keep a consistent routine: same order of rooms, same timing, and a clear start/finish cue reduces uncertainty.
- Start short: ending while your pet is still coping builds confidence for next time.
For reward and routine ideas that work especially well for cats, Enrichment Ideas for Indoor Cats | Printable Cat Enrichment Guide | DIY Toys, Play Routines, and Cat-Friendly Home Tips can help you set up calm, structured enrichment during noisy moments.
A gradual desensitization plan that actually sticks
Desensitization works when it’s slow enough that your pet stays below their panic threshold. Think “days,” not “minutes,” and repeat steps until your pet looks relaxed.
- Start with the vacuum off: place it in the room at a distance, feed high-value treats or offer play, then remove it.
- Add movement (still off): roll it a few inches, treat, then stop; keep sessions 1–3 minutes.
- Introduce sound at the lowest intensity possible: turn it on briefly in another room, treat, then turn it off.
- Decrease distance gradually: move closer across sessions over multiple days.
- Use a special reward: a treat, lick mat, or toy that only appears during vacuum training increases “good news” association.
- If your pet startles: go back 1–2 steps so the next session feels easy again.
Two-Week Vacuum Comfort Plan (adjust pacing to your pet)
| Day range | Vacuum setup | Goal sign | Reward idea |
|---|---|---|---|
| 1–3 | Vacuum visible, OFF, stationary | Pet can eat and move normally | Small treats tossed away from vacuum |
| 4–6 | Vacuum OFF, moved slightly | No retreat/hiding; curiosity allowed | Treat + short play burst |
| 7–9 | Vacuum ON in another room for 1–3 seconds | Pet stays below panic threshold | Lick mat or scatter feeding |
| 10–12 | Vacuum ON farther away in same room briefly | Relaxed body, quick recovery | High-value chew (supervised) |
| 13–14 | Normal vacuuming with breaks + safe zone option | Pet chooses calm activity | Reward at start and at end cue |
During real vacuuming: keep it calm, short, and predictable
- Use a clear cue: say a consistent phrase (“vacuum time”), guide your pet to the safe zone, then begin.
- Take strategic breaks: vacuum 1–3 minutes, pause, reward calm behavior, and continue.
- Avoid “chasing” with the vacuum: even playful chasing can teach your pet the vacuum is a predator. Provide an escape route.
- Don’t punish barking or hissing: punishment can intensify fear and make the vacuum predict danger.
- End with decompression: after finishing, offer a sniff walk, play session, or quiet treat to reset the emotional state.
If you want a guided framework you can follow consistently, Helping Pets Handle Vacuum Stress is a practical companion for building calmer household routines.
Tools that can help (and how to use them safely)
For additional training guidance, resources from the ASPCA and AAHA can help you understand humane behavior strategies and when to get medical input.
Common mistakes that slow progress
When to seek professional help
FAQ
Should pets be in the same room while vacuuming?
Often no at first. Use a safe zone behind a door or gate, then reintroduce short, controlled exposure only once your pet can stay calm and recover quickly.
How long does it take for a pet to get used to the vacuum?
Many pets improve in 1–3 weeks with consistent, short practice sessions, but severe fear can take longer. Progress depends on your starting distance, the vacuum’s noise level, and your pet’s sensitivity.
What if my dog tries to attack or bite the vacuum?
Prioritize safety by separating your dog from the vacuuming area and stopping direct access. Restart with distance-based desensitization, and if the behavior is intense or escalating, consult a qualified professional.











Leave a comment